Your calm, step-by-step guide on how to set up your pool before bubs arrives.
If you’re planning a homebirth and using a birth pool, you’re in the right place. Setting it up is easier than most people expect and when you’re in that lovely warm water, it’s all worth it.
Here’s everything you need to know to set up your birth pool at home with confidence.
Before You Start: What You’ll Need
Each hire package includes everything you need to get the pool inflated and filled, but there are a few things you’ll want ready ahead of time:
-
A tap nearby (kitchen, laundry, or bathroom)
-
Access to warm water (some people use their hot water system alone, others top up with a kettle or pots)
-
Tarp for underneath the pool (included in our hires)
-
A torch or soft light for checking water clarity
-
A hose that reaches from the tap to the pool (we provide this)
-
The pool liner and air pump (we include both)
When to set it up:
We usually recommend doing a dry run around 37 weeks. You don’t need to fill it with water, just inflate it and check your setup works with your tap and space.
*If you find the water pressure is not very strong, this could be due to an aerator in your tap. Make sure to remove this before filling the pool with water for a faster fill up.
Step-by-Step: Setting Up Your Birth Pool
1. Choose your space
Pick a spot with privacy, good lighting, and access to power + water. Common spots are living rooms, bedrooms, or near the laundry. Make sure the pool has access to at least two sides.
2. Lay down your floor covering
Protect the floor with towels or the 2m x 2m tarp that we provide in our hires. This helps absorb any splashes.
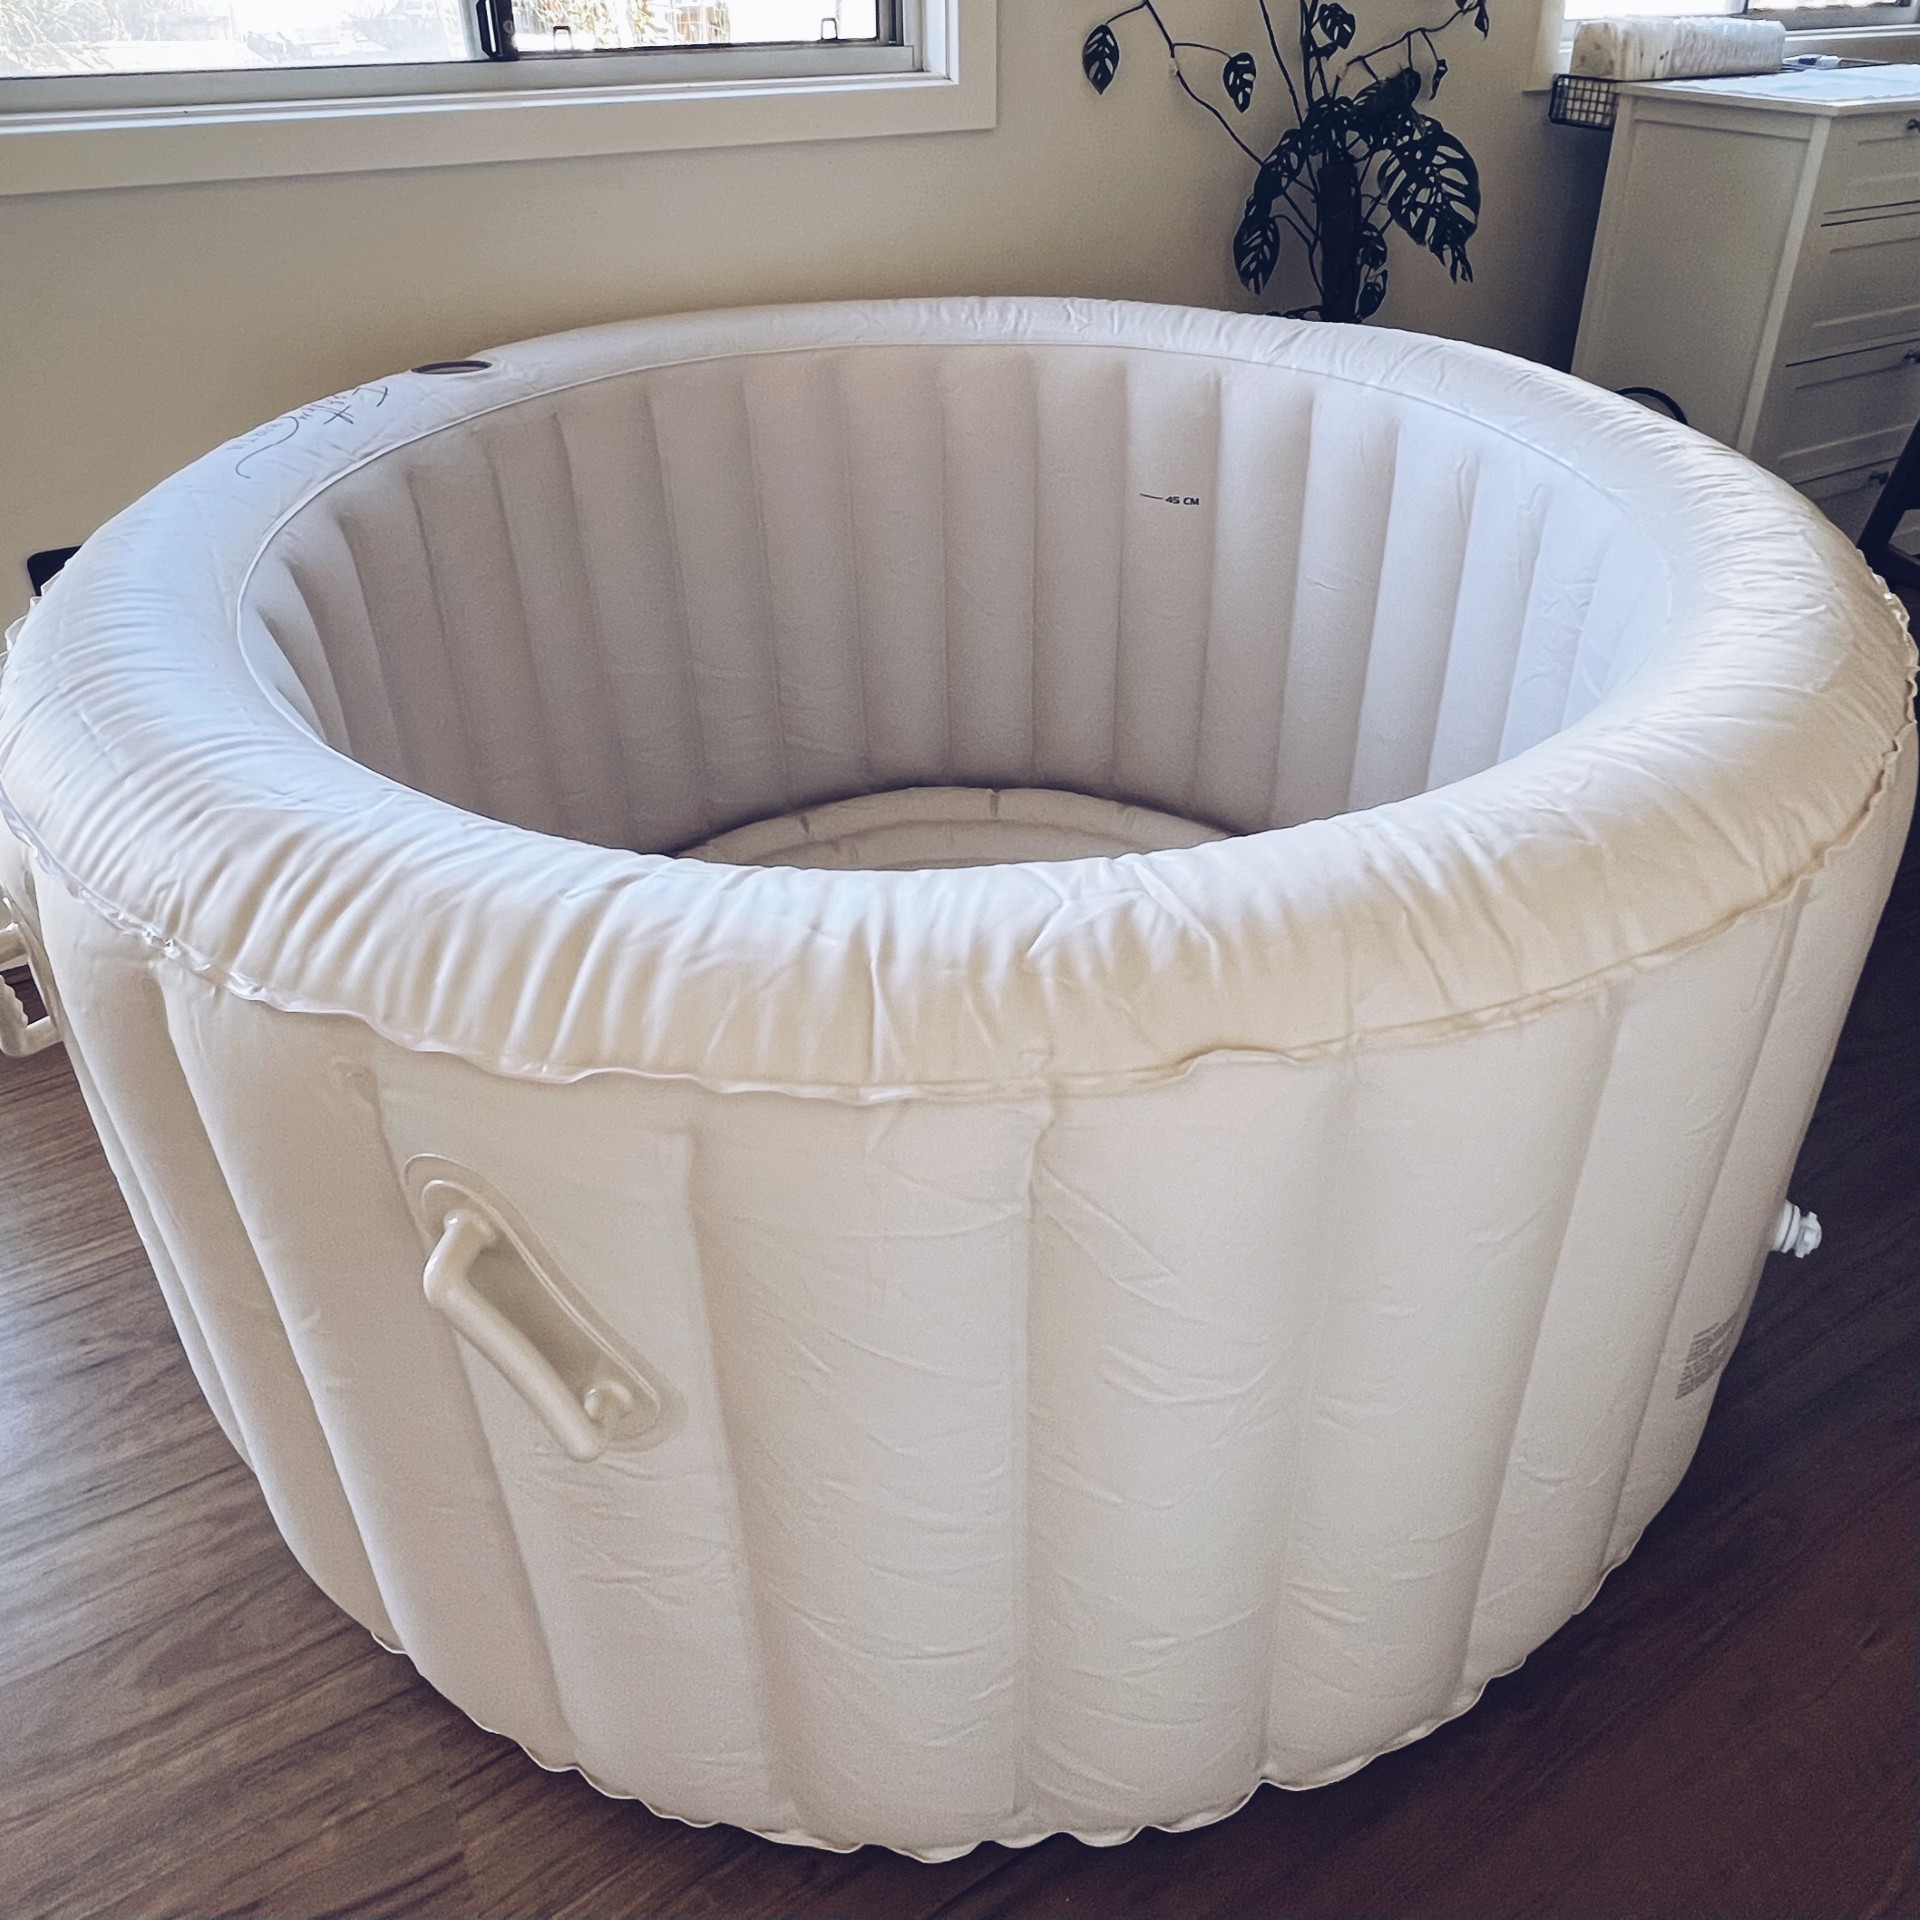
3. Inflate the pool
Start by inflating each part of the pool using the LARGE attachment on the air pump:
-
Wall: Open the wall valve completely and inflate the wall of the pool to about 70–80% capacity.
-
Floor: Open the floor valve completely and inflate the floor as much as possible. Then, fit the one-way valve and finish inflating to your desired firmness. Be sure to push the lid and valve down so they sit flat with the floor — this protects the liner from damage.
-
Seat (if using): Inflate the seat through its one-way valve, press the lid and valve flat, and place the seat in the base of the pool against the edge.
4. Fit the liner
Make sure it’s not inside out, with the handles and cup holder properly aligned. Finish inflating the wall through the one-way valve using the small nozzle on the air pump, until it’s firm enough to sit on without much sag.
5. Connect your hose to the tap
Use the universal tap adapter provided to connect the hose. White part = laundry spout taps and Brass parts = kitchen or bathroom taps. Attach the hose, begin filling with COLD water only to avoid damaging the pool, then gradually add hot.
6. Fill the pool
Fill the water to the 45cm line, or a bit below if two people are getting in the pool.
7. Test the temperature
The water should be between 36–37.5°C (use the floating thermometer provided to check). Too cold = not relaxing. Too hot = risky for baby. Add hot water last to warm it up.
8. Birth time!
Once filled, hop in when you’re ready and birth your little one.
Tips for Birth Day
-
Top up with hot water using boiled water in jugs or an urn (carefully!).
-
Have towels nearby for drying off, stepping out, or leaning on.
-
Dim the lights and bring your birth playlist, essential oils, or affirmations.
-
Use the pool as you like — even just for relief, not birth.
Setting up your pool is one of those “it looks harder than it is” jobs. And remember: you’re not doing it alone. Your partner, support people, or midwife can help and we’re always just a message away.
The real magic happens once you sink into that warm water, fully present, fully supported. You’ve got this.